1
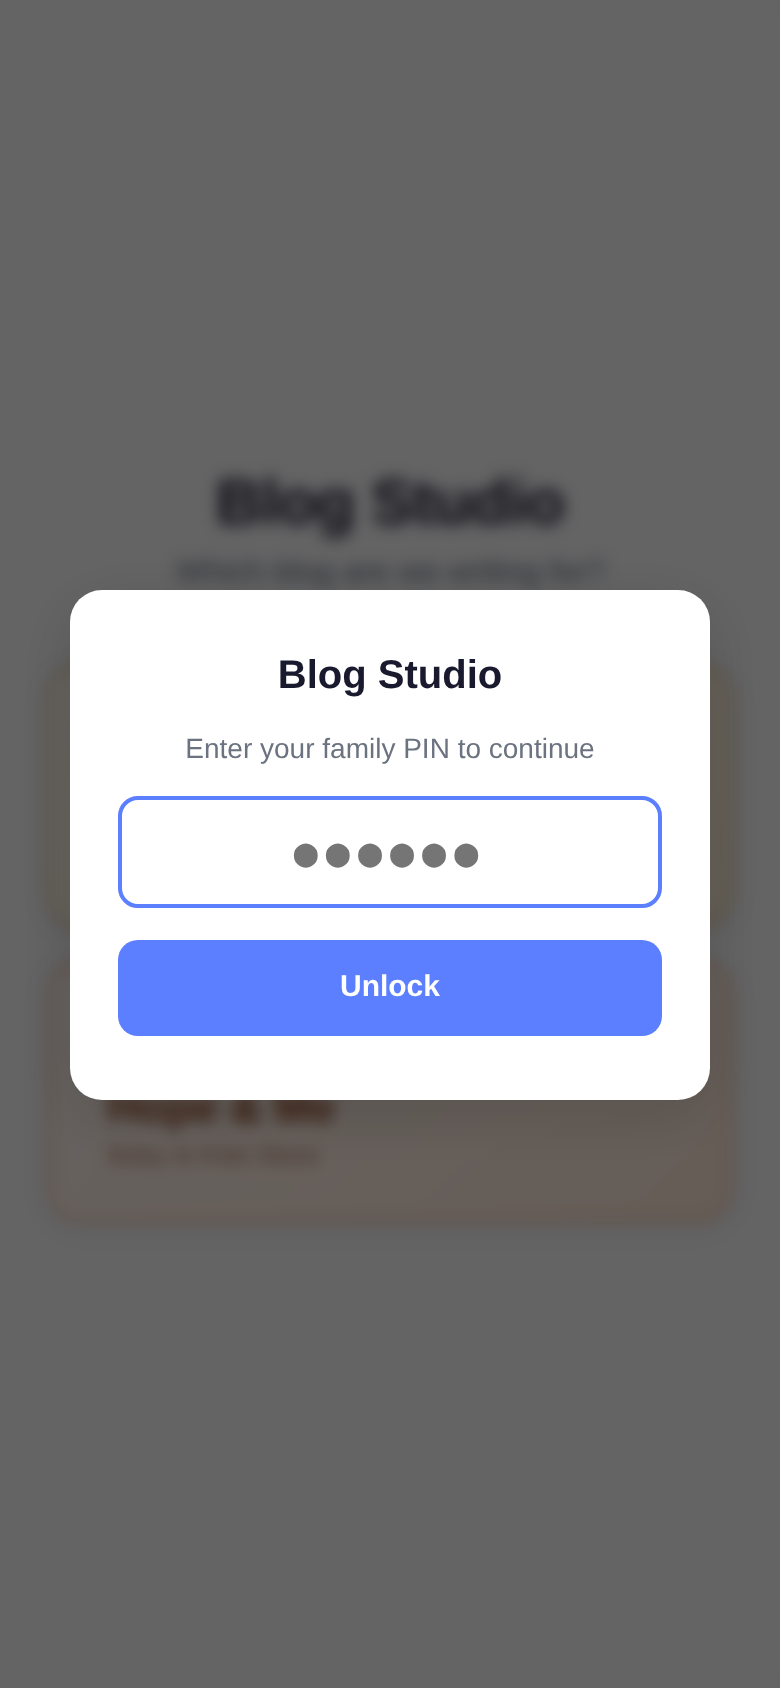
Enter your PIN
Open the app link and enter the family PIN to unlock. You only need to do this once per session — it remembers you until you close the browser.
A guide for the family
Blog Studio is a simple app that turns your voice into a published blog post. You talk about an idea, and it writes the blog for you — complete with product cards, images, and proper formatting.
It works for both our brands:
You don't need to be a writer. Just describe what you want the blog to be about, and the AI handles the rest. Each blog costs less than 1 cent to generate, so feel free to experiment.
Works on your phone, iPad, or computer.
Open the app link and enter the family PIN to unlock. You only need to do this once per session — it remembers you until you close the browser.
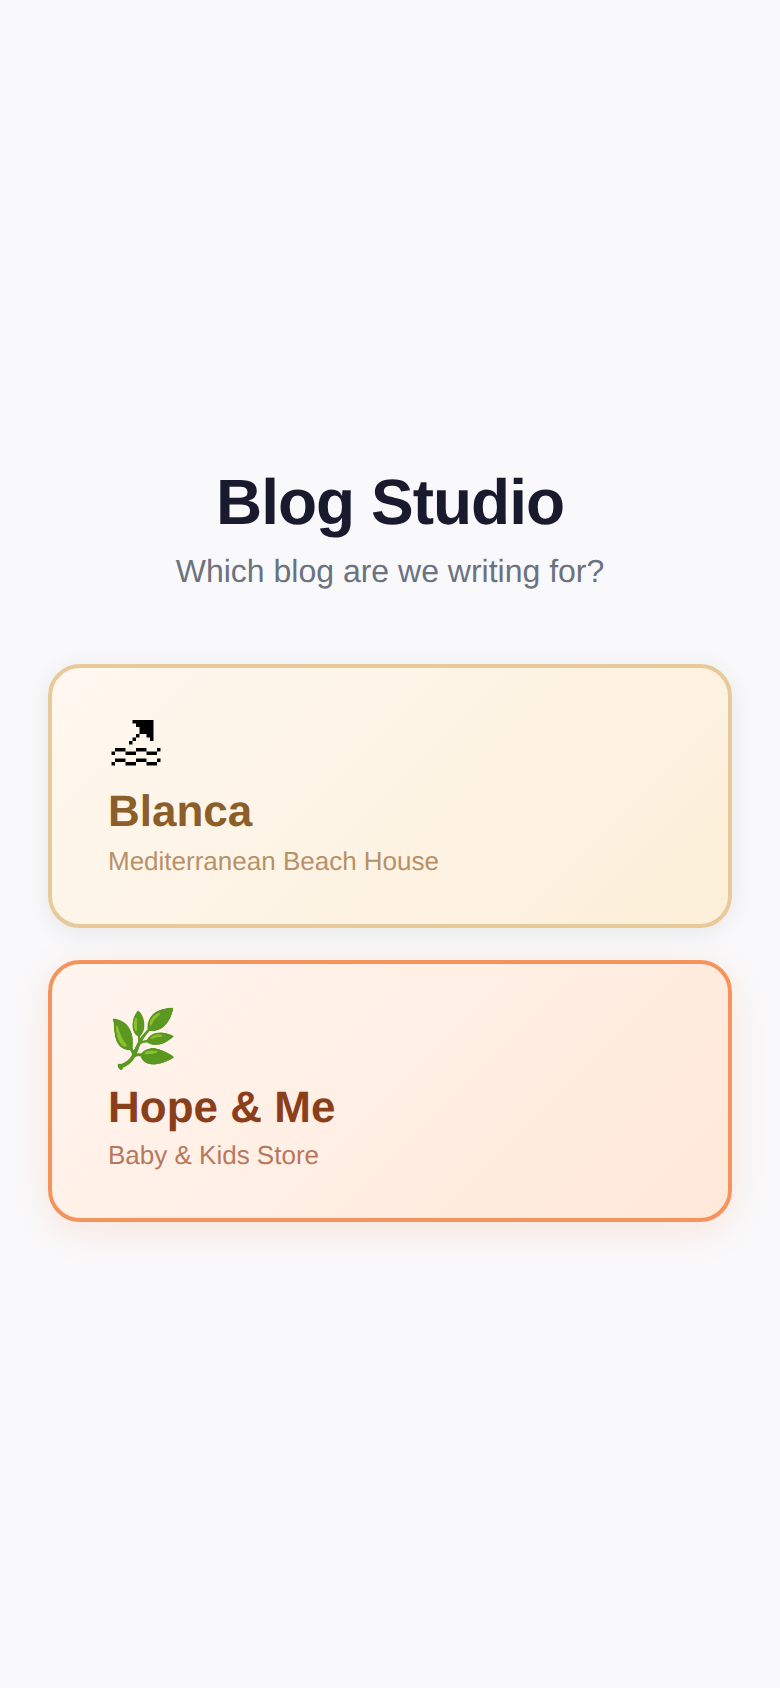
Choose which blog you're writing for. The app changes colours and behaviour depending on the brand — Blanca is warm gold, Hope & Me is coral.
Your last choice is remembered, so next time it goes straight to that brand.
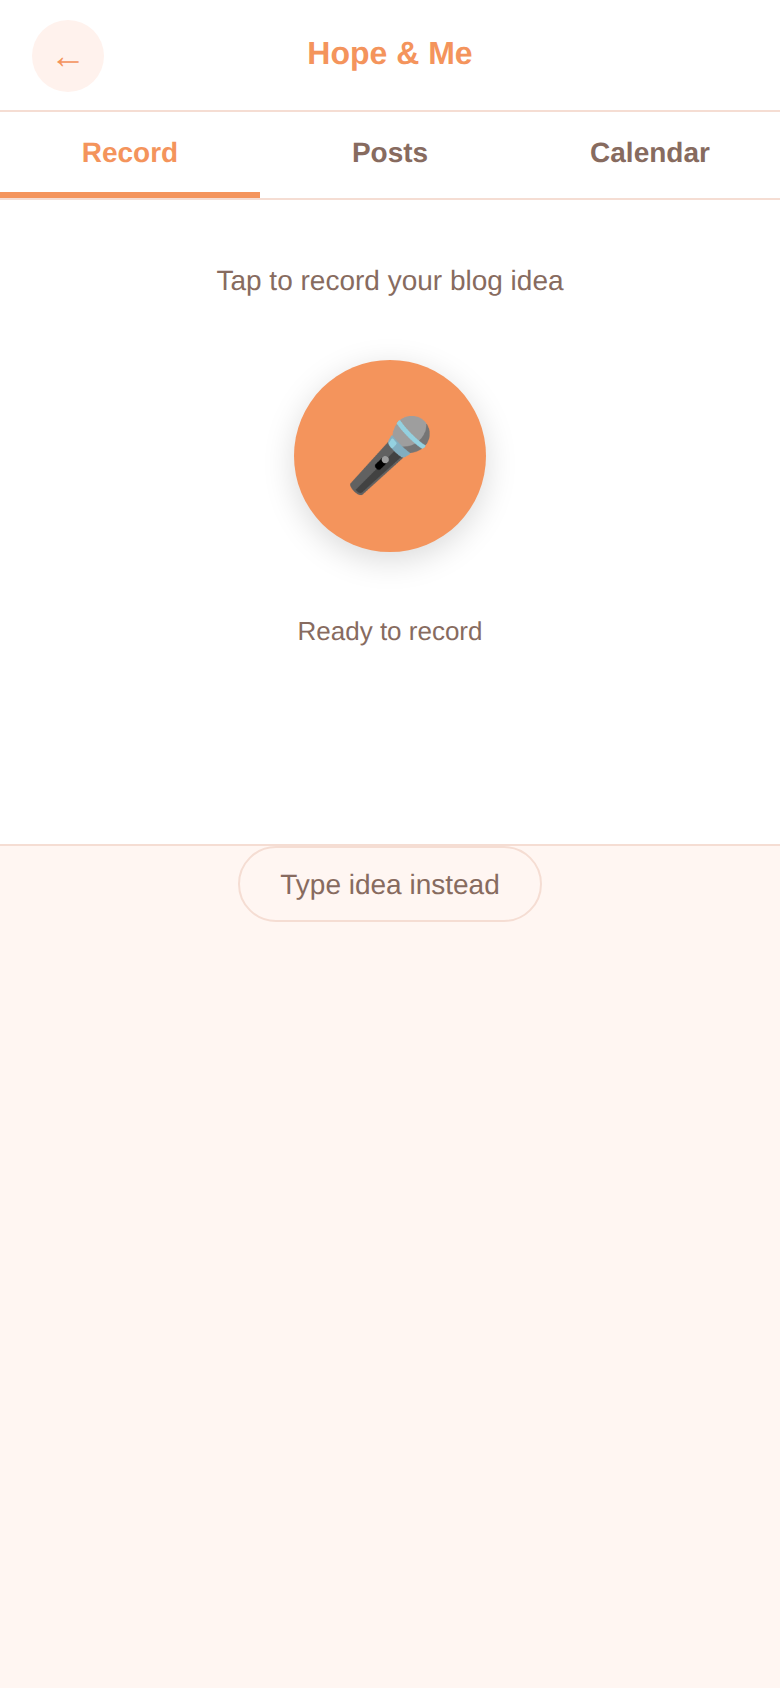
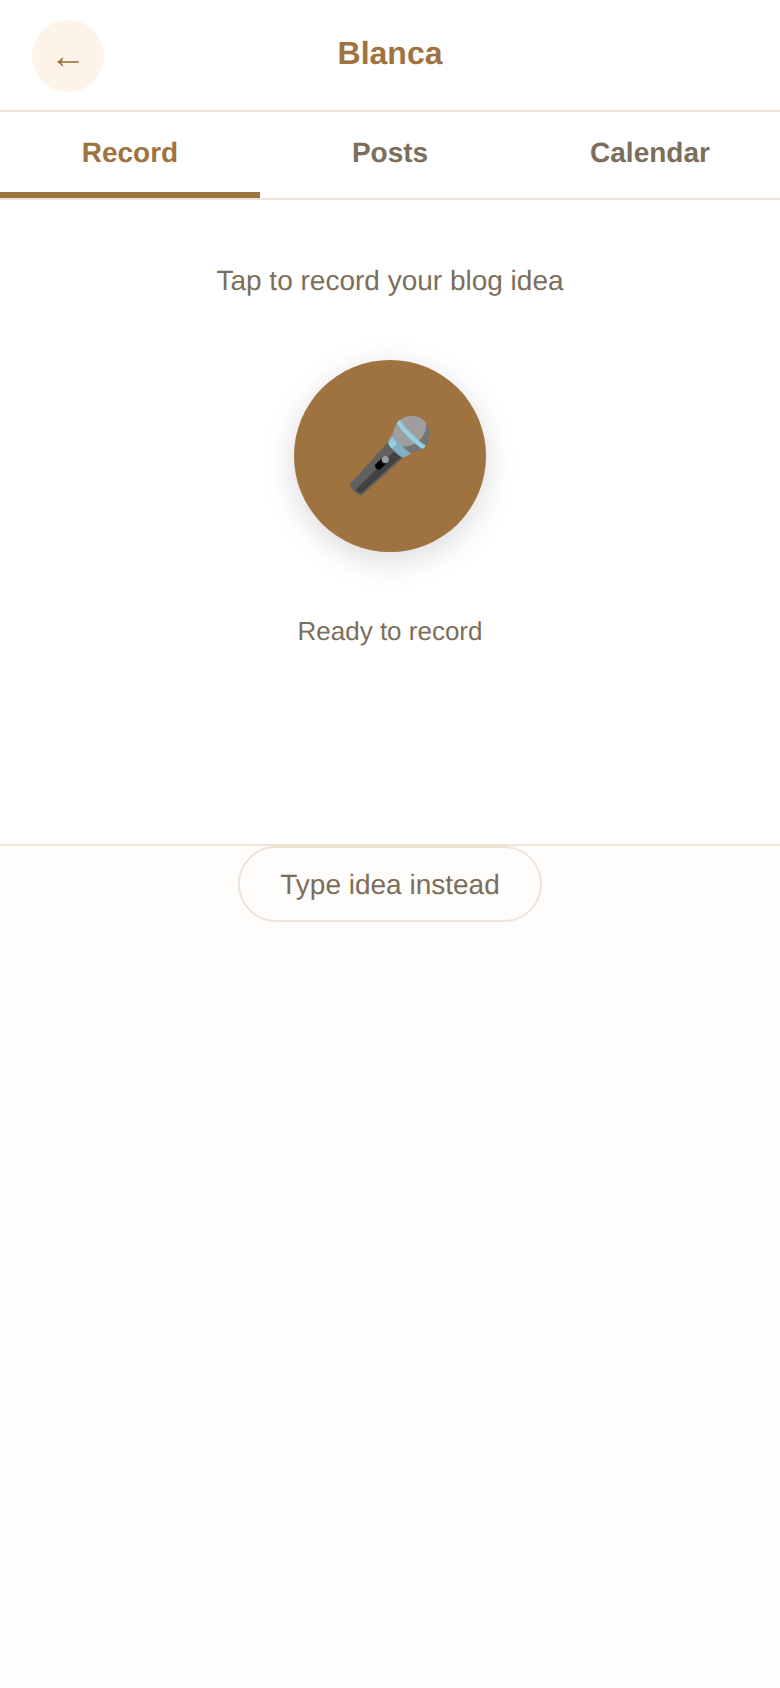
Tap the big button and talk about your blog idea. Just describe:
You can pause mid-thought (tap the button), gather your thoughts, and resume when ready. Tap Done when finished.
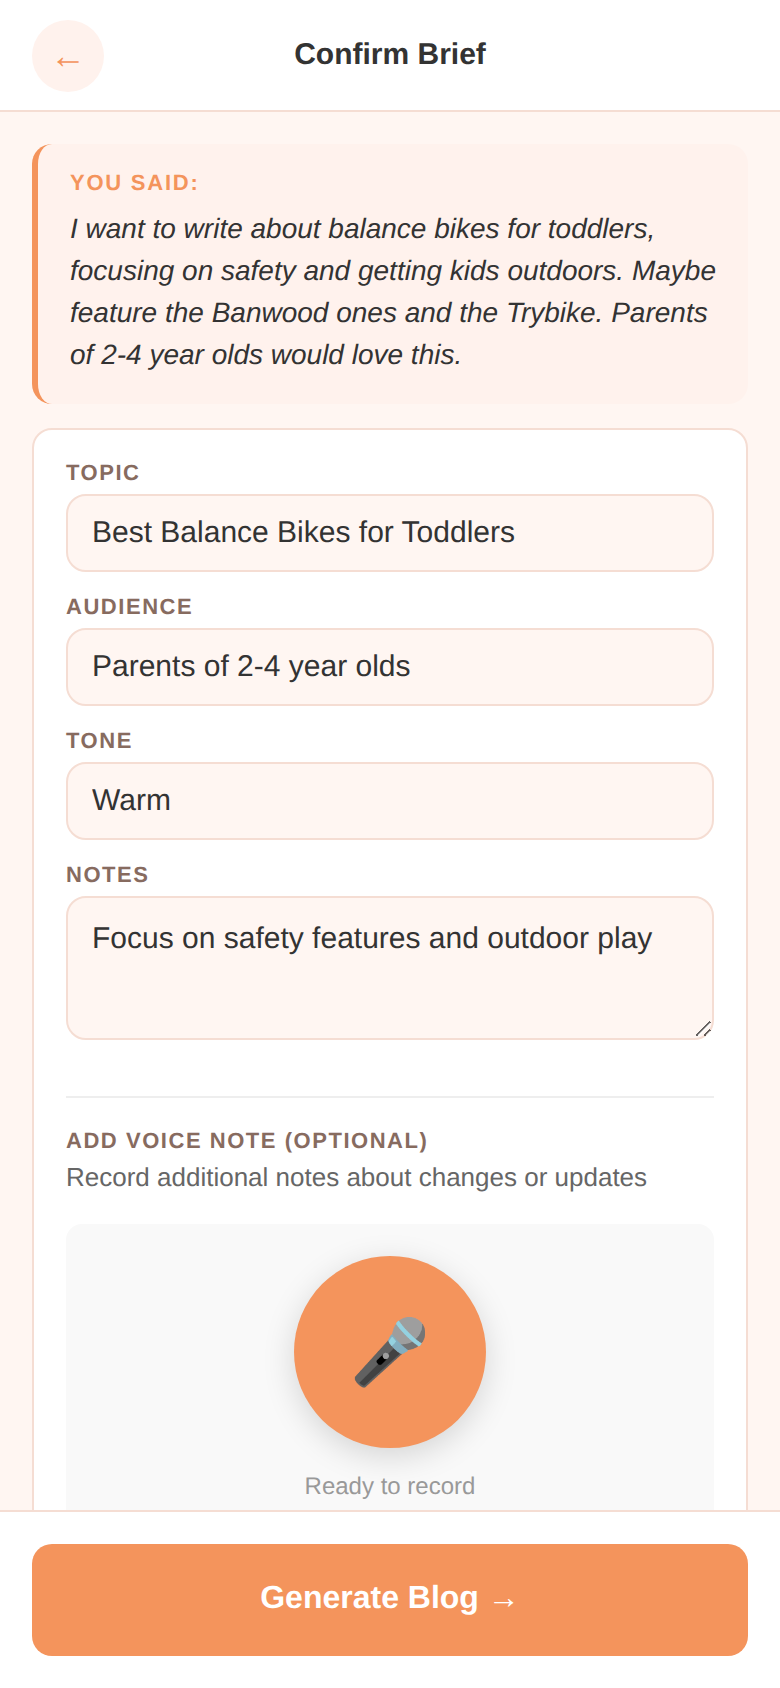
The app turns your voice note into a structured brief — topic, audience, tone, and notes. It shows you exactly what it understood.
Everything is editable. Change the topic, adjust the tone, add notes. This is your chance to fine-tune before generating.
For Hope & Me posts, scroll down to find the product picker. Type a product name (e.g. "bike" or "candle") and tap Search to find items from the store. Select the ones you want featured in the blog.
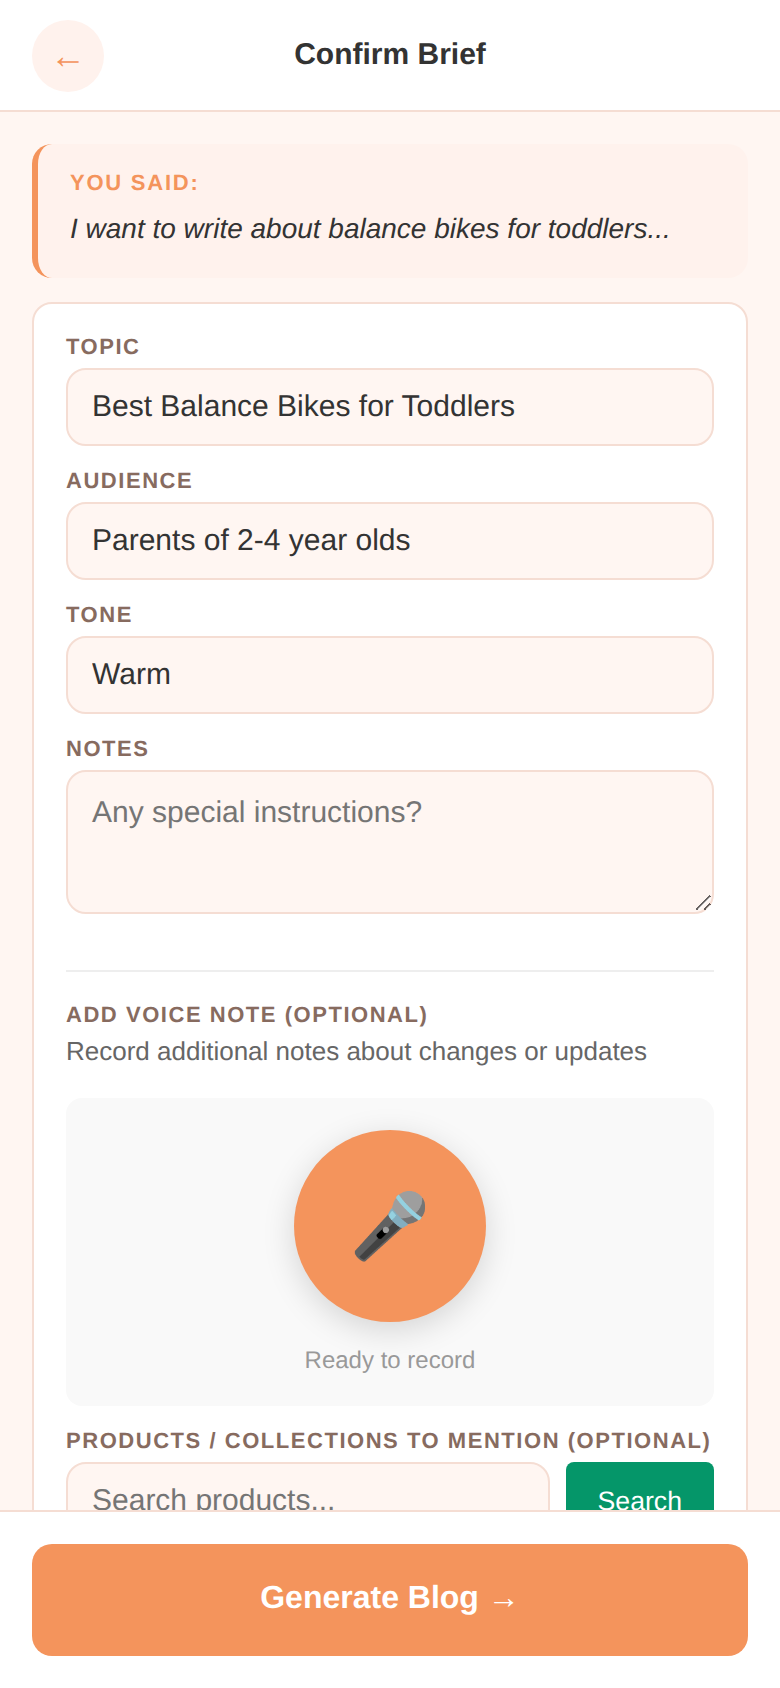
Happy with everything? Tap Generate Blog at the bottom.
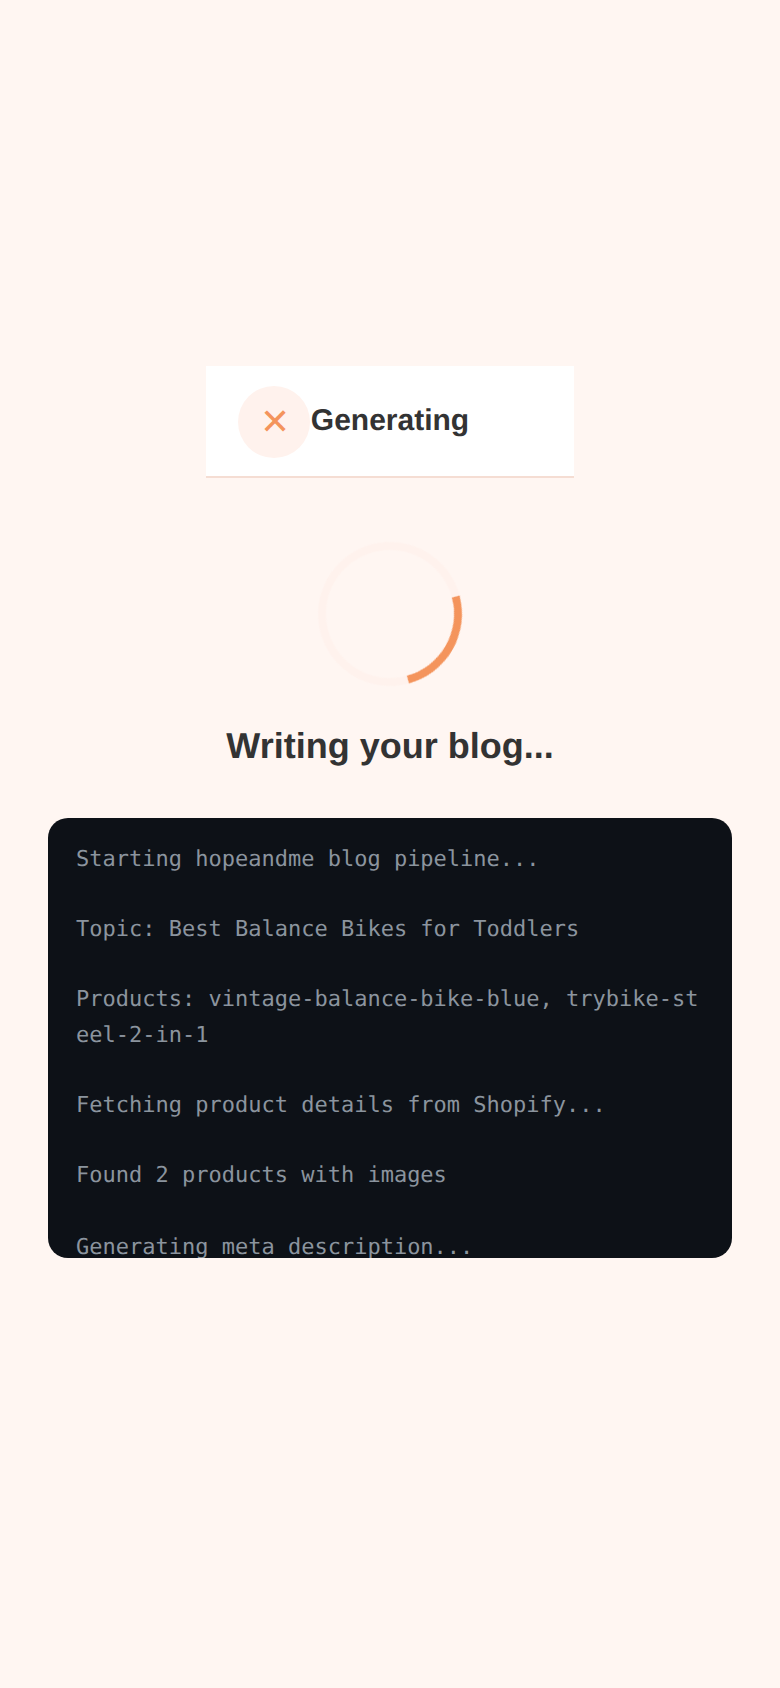
The app shows you what's happening in real-time as it writes your blog. This usually takes 30-60 seconds.
Read through the finished blog. For Hope & Me, it includes product cards with images, prices, and "Shop Now" buttons. For Blanca, it includes local tips, verified facts, and booking links.
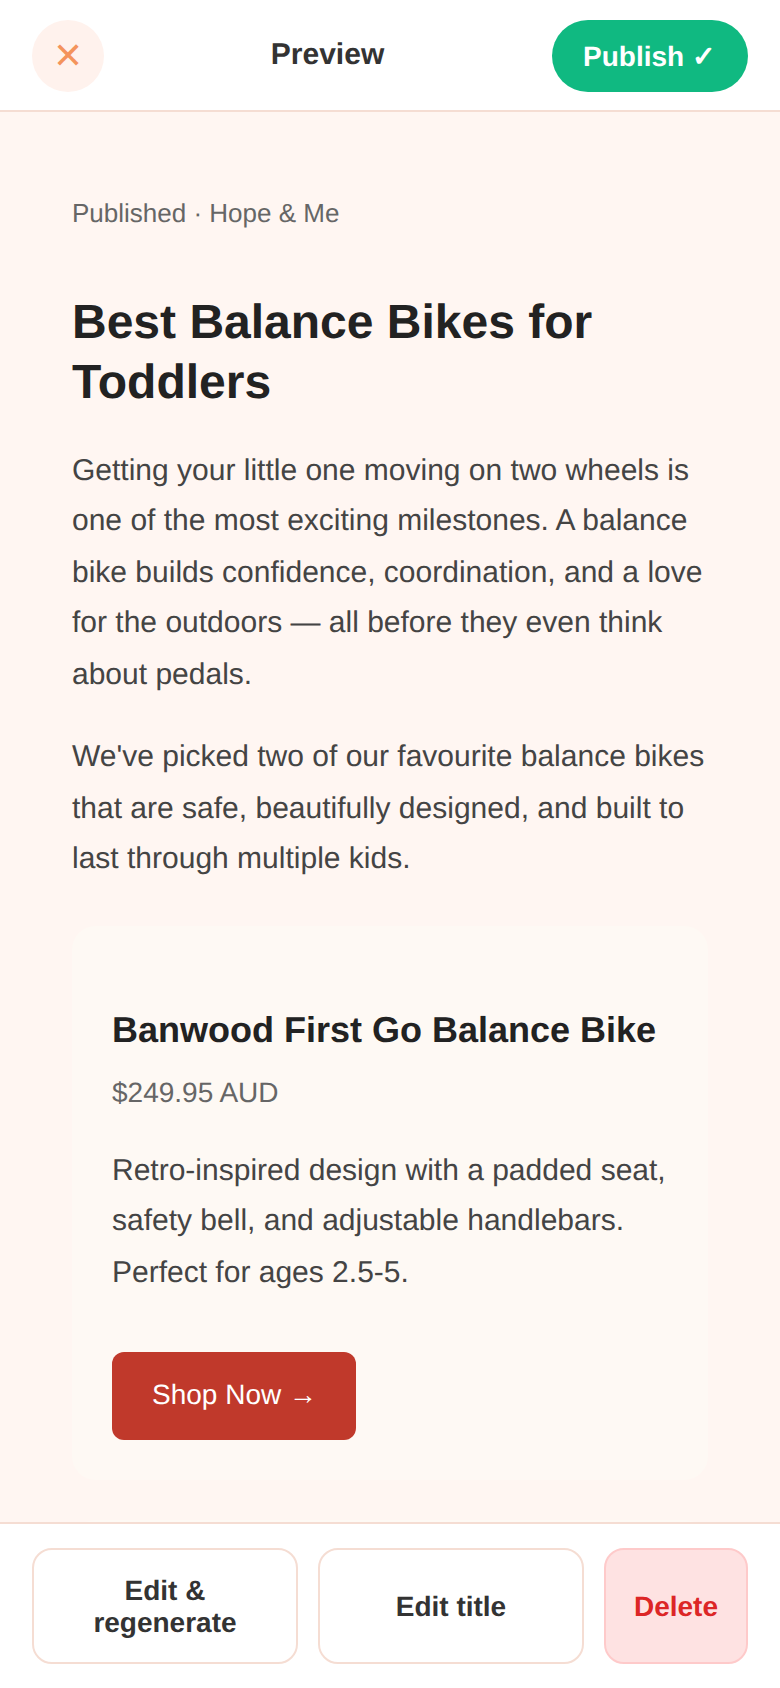
At the bottom you'll see your options:
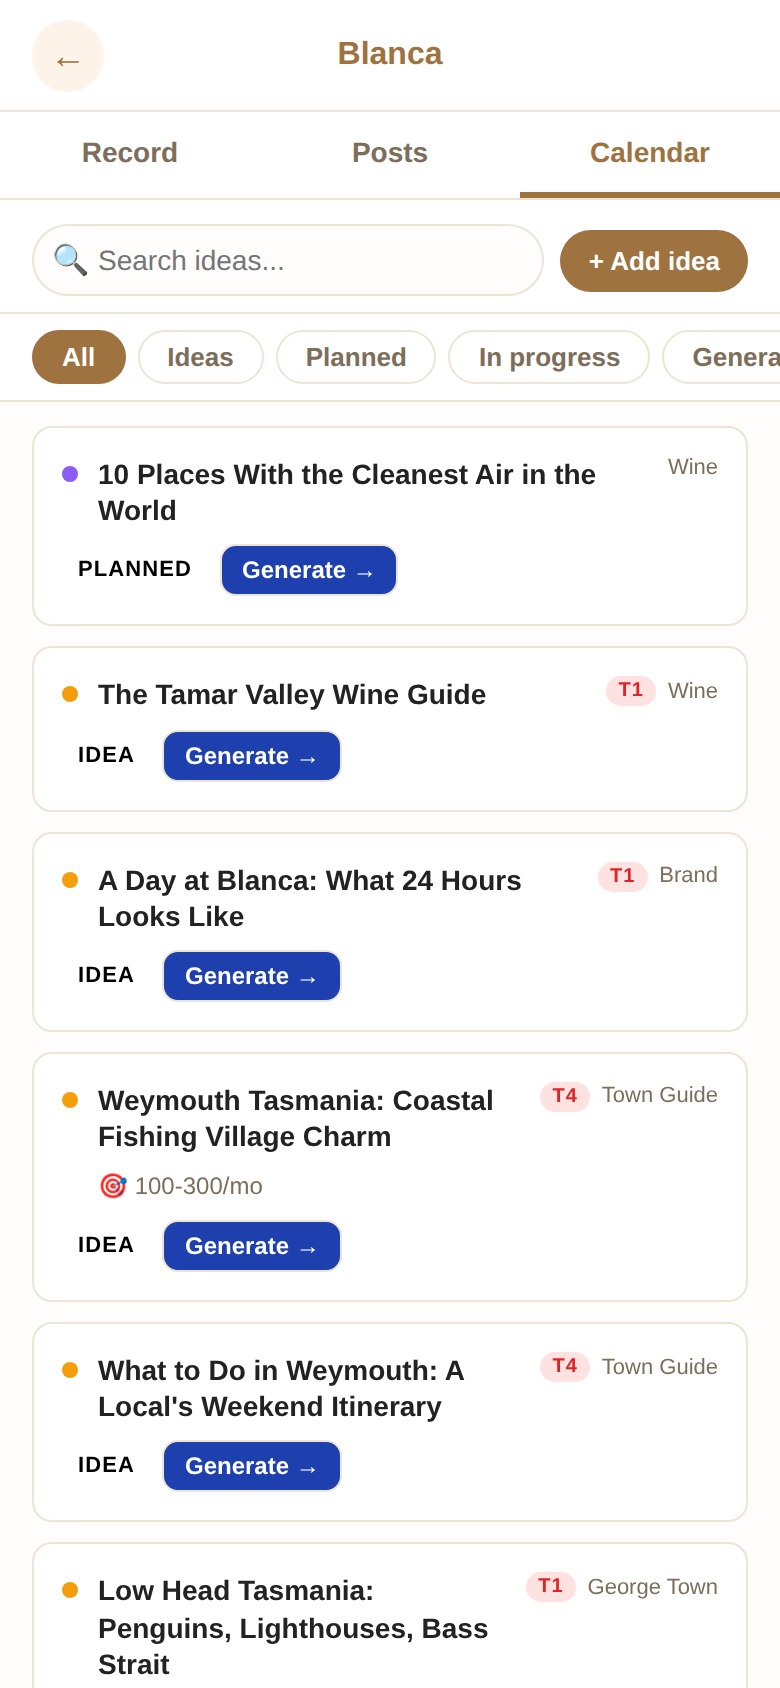
The Calendar tab is your ideas backlog. Add blog ideas whenever inspiration strikes — even if you don't want to write them right now.
Each idea can have a priority (P1 = urgent, P5 = someday), a target date, and notes about what angle to take.
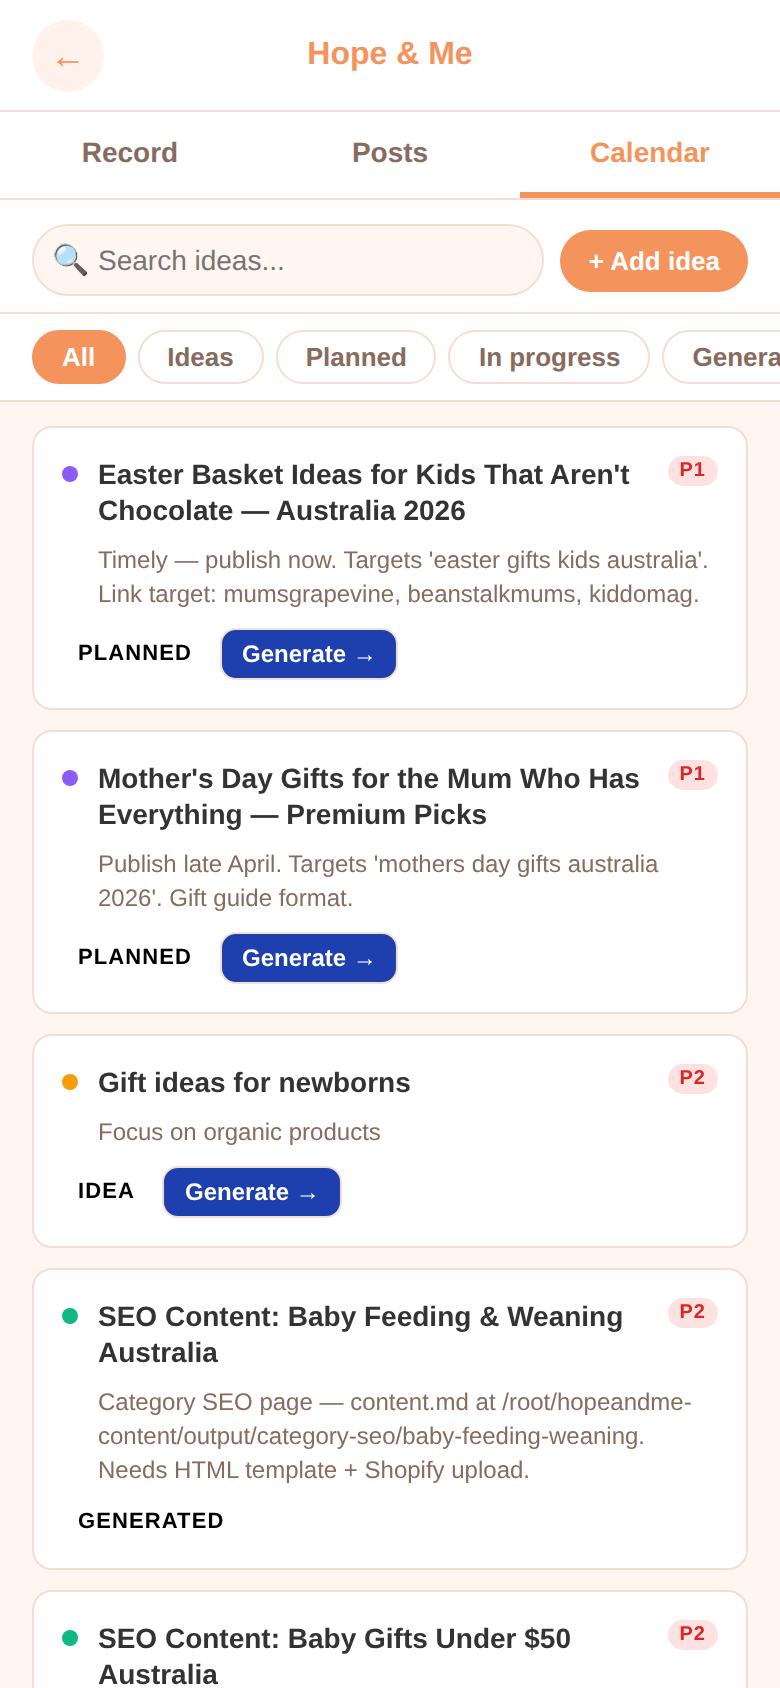
When you're ready to write one, tap Generate on any card and it goes straight to the brief screen.
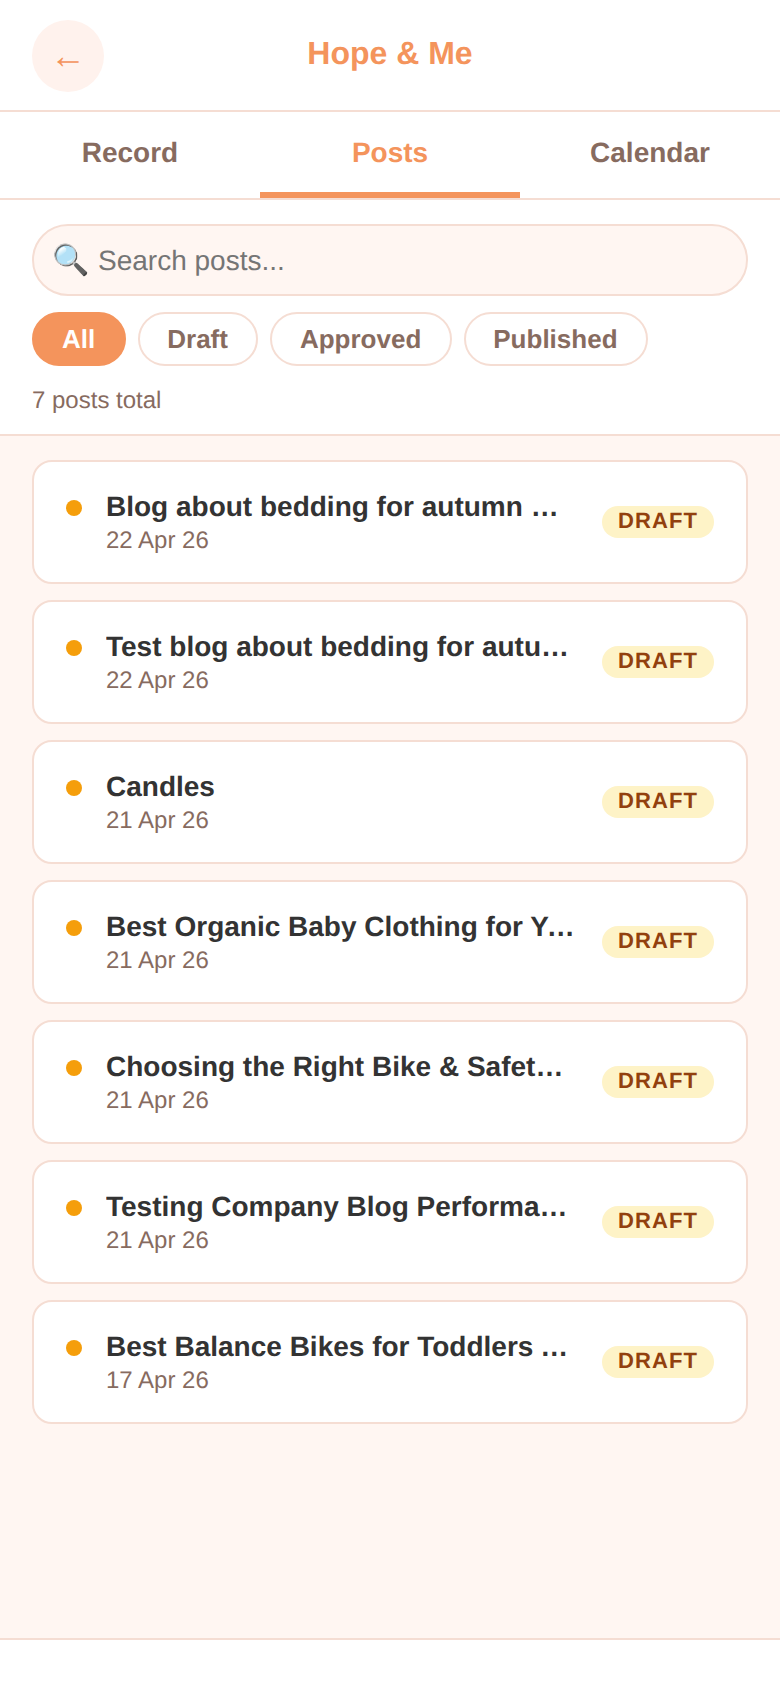
The Posts tab shows all your generated blogs in one place. You can filter by status — draft (not yet reviewed), approved (ready to publish), or published (live on the website).
Tap any post to preview it, edit the title, regenerate, or delete.
Tap the back arrow on the Record screen to go back to the brand picker. Each brand has its own posts, calendar, and settings.
30 seconds to 2 minutes is ideal. Just describe the topic, who it's for, and any specific products or angles you want. Don't worry about being polished — just be natural.
Yes! Tap "Edit & regenerate" on the preview screen. Your original brief is kept, so you can tweak the topic, tone, or notes and try again. Each regeneration costs less than 1 cent.
Just regenerate. Try being more specific in your notes — for example, "focus on safety features" or "compare these two products." The more direction you give, the better the result.
Yes! The app is designed mobile-first. Works on iPhone (Safari), Android (Chrome), iPad, and desktop browsers. Voice recording works on all modern browsers.
Yes. The app automatically detects your browser and uses the right audio format. If you have trouble with the microphone, check that you've allowed microphone access in your browser settings.
They're saved on the server and marked as "approved." Jake reviews all approved posts and publishes them to the live website. You'll see the status change to "published" in the Posts tab once it's live.
Absolutely! Go to the Calendar tab and tap "Add idea." Jot down the topic and any notes. Come back and generate it whenever you're ready.
As many as you want. Each one costs less than 1 cent in AI credits, so don't hold back. Generate, review, regenerate — experiment freely.
Ask Jake! It's a simple family PIN that keeps the app private.